Task Scheduler
Table of contents
- Create a New Task
- Name the Task
- Setup the Schedule
- Set the Application and Arguments
- Configure Task Settings
Create a New Task
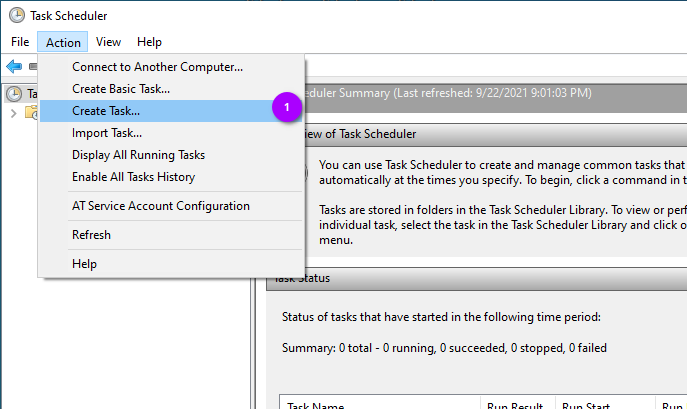
Inside Task Scheduler, select the Action menu button and click Create Task…
Name the Task
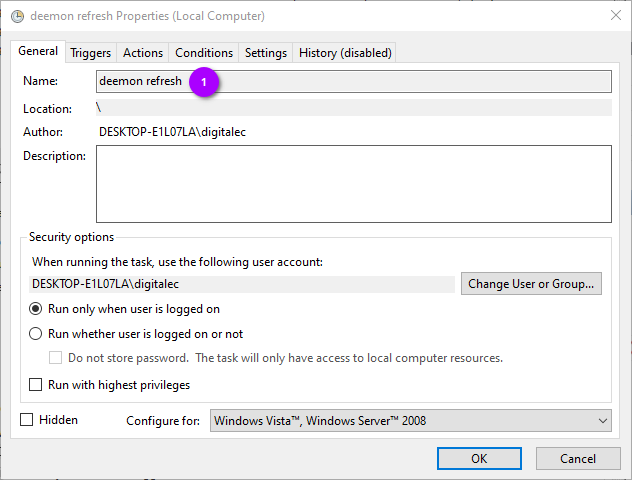
Give the task a name so you’ll know what it’s for. In this case, this task will be setup to run deemon refresh so that’s what I’ve named it.
Setup the Schedule
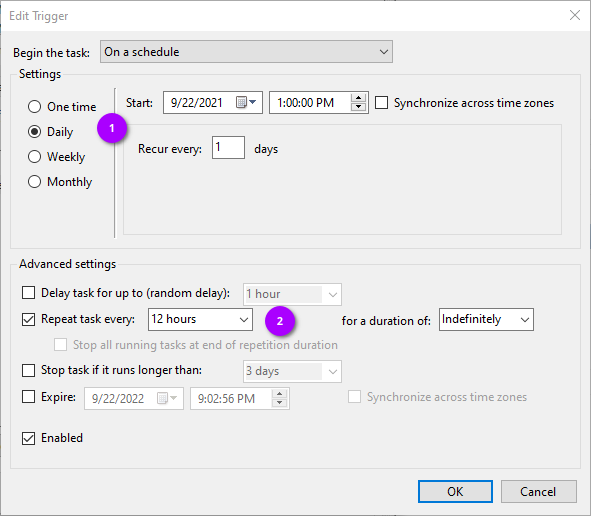
This is where Task Scheduler becomes a little cumbersome. If you want to run a task every few minutes/hours, you have to select Daily (1) and under Advanced settings check the box to repeat the task (2). The drop down box for Repeat task every: doesn’t give many options, but thankfully you can type in your preference. I went ahead and put in 12 hours with a duration of indefinitely.
With these settings, our task will run every 12 hours until we disable it.
Set the Application and Arguments
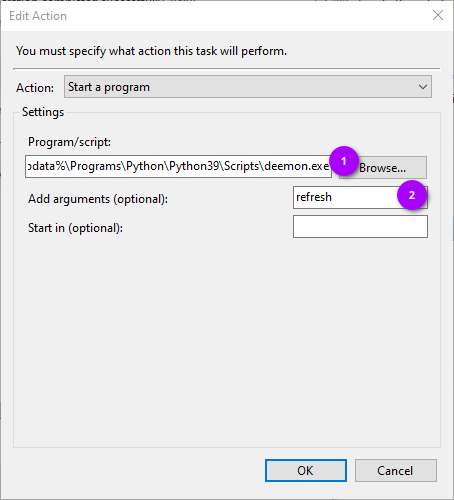
Under Program/script (1) we need to set the absolute path to deemon:
_%localappdata%\Programs\Python\Python39\Scripts\deemon.exe
Under Add arguments (optional) (2) is where you put the deemon command you wish to run. Since this task is being setup for doing a refresh, we only need to put refresh in this box. When Task Scheduler runs this task, it would be the equivalent of typing deemon refresh at a command prompt.
Configure Task Settings
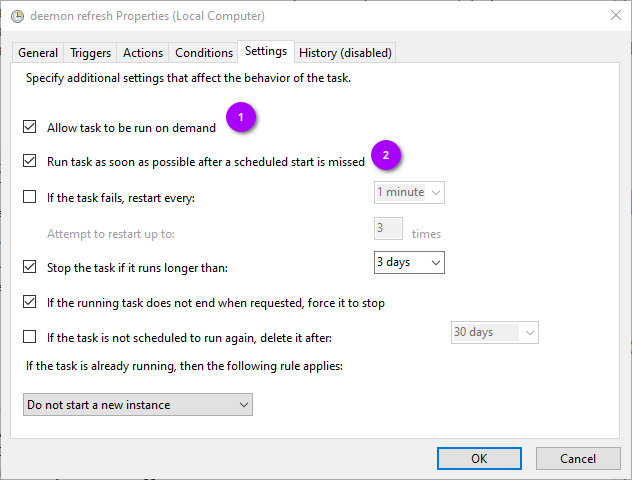
Here you can configure your various preferences with how to handle various situations/conditions. The most important ones are:
(1) Allow task to be run on demand
(2) Run task as soon as possible after a scheduled start is missed
This will allow us to manually run the task to test it and will also run the task if your computer was off or sleeping the last scheduled run.